WordPress adds its own logo to the login page of new installations by default. This isn’t a big deal if you’re the only one who uses this portal. However, if you share it with users, subscribers, or even just team members, it’s a good idea to change your WordPress login logo to match your company’s branding.
Fortunately, this is a simple process. Using a plugin, you can change the logo on your login page.
If you’re not comfortable editing your theme’s files directly, you can change your WordPress login logo with a plugin like Login Logo or Custom Login Page Customizer. we are going to use LoginPress Pro.
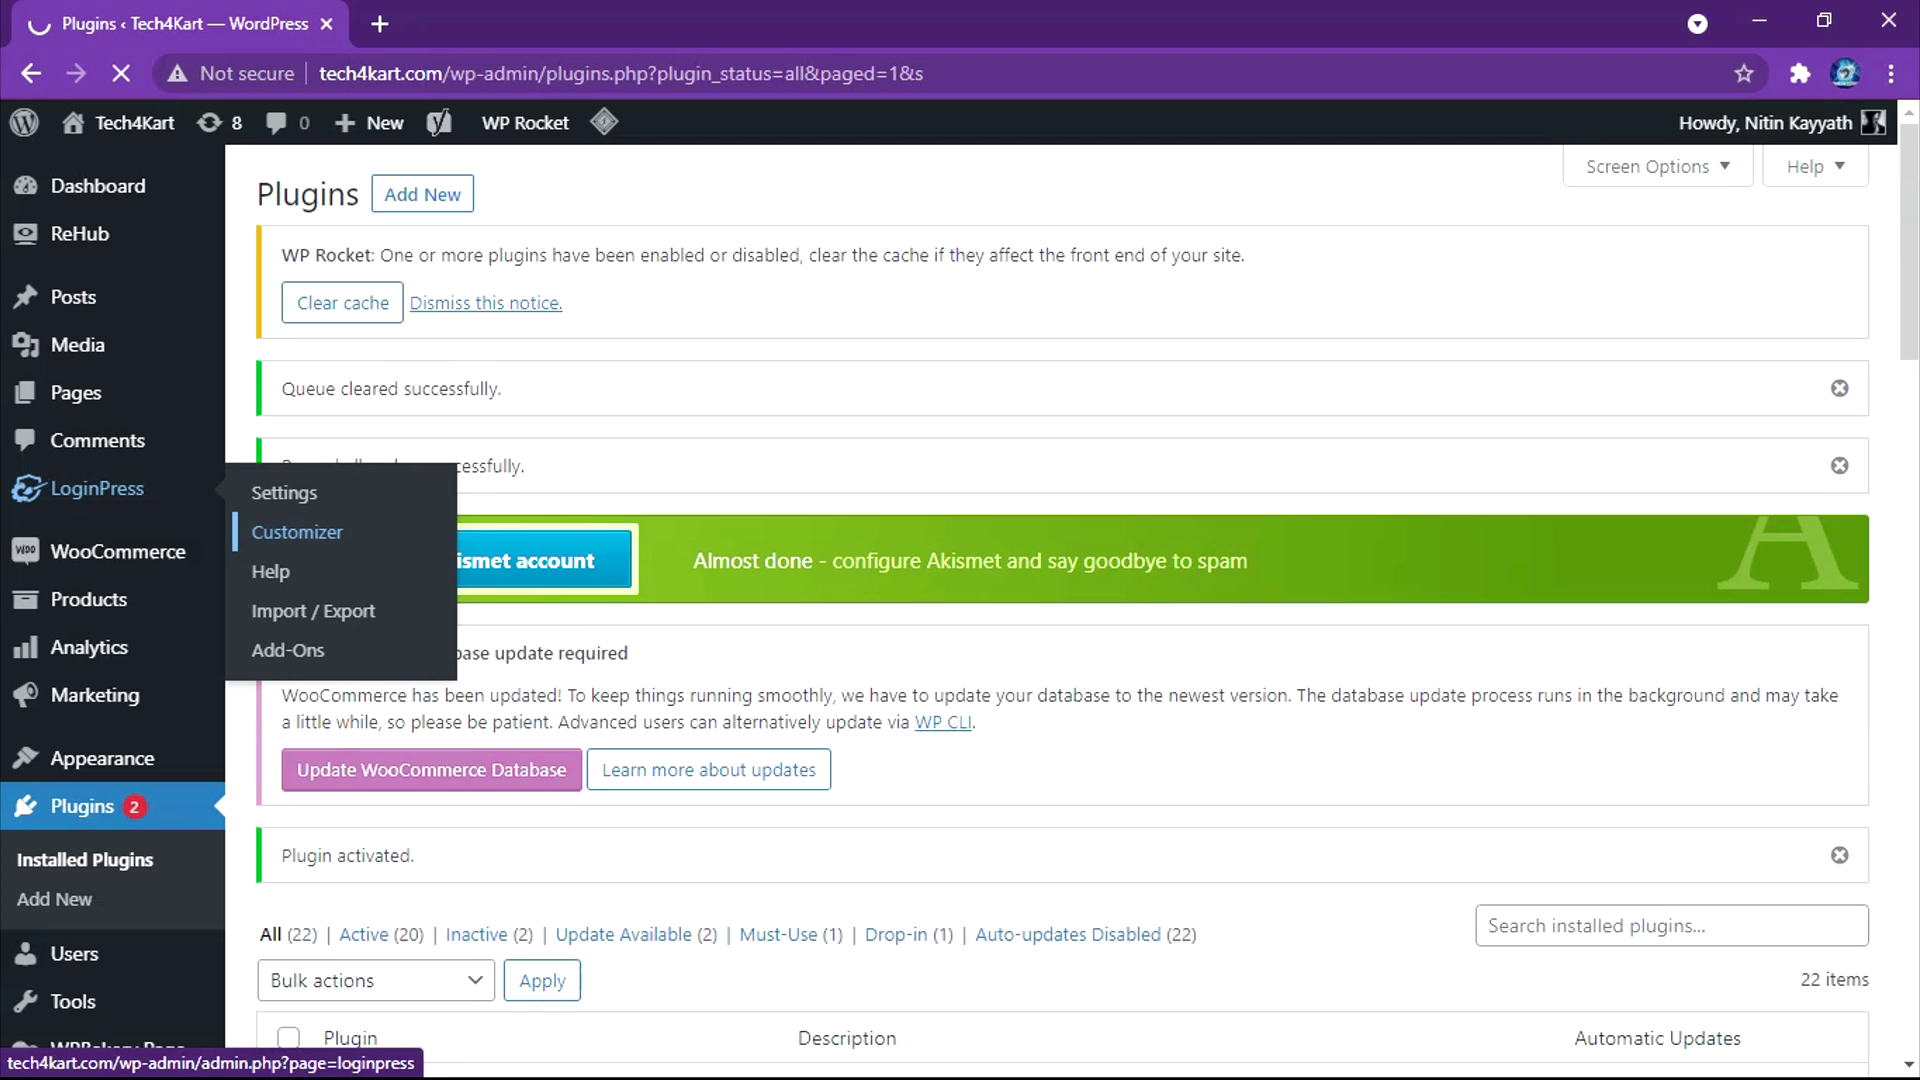
We’ll be using LoginPress Plugin for this tutorial. You can download the pro version of the plugin from HERE. After installing and activating it (Plugins > Add New), search for LoginPress and install the plugin.

Go to LoginPress > Customizer in your dashboard. This will take you to the WordPress login page customizer, where you can preview the login page on the right and change its appearance on the left. If you’re used to using the built-in WordPress Customizer, the interface should be familiar:
To change the logo, go to Logo > Select image:

You have the option of selecting an image from your Media Library or uploading a file from your computer. There are also options to change the size and spacing of the WordPress login logo, as well as to disable it entirely.
When you’re finished, click Publish. Your changes should take effect immediately.